This article describes how to update the Schema of an existing EQuIS database to include the tables required by the SPM. The SPM Schema addition includes RT_SPM_*, DT_SPM_*, and AT_SPM_* tables as well as required records in ST_GROUP_TYPE.GROUP_TYPE and RT_LOOKUP.LOOKUP_TYPE.
Copy SPM Schema File to EQuIS\db Folder
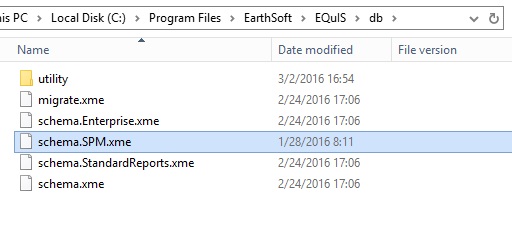
Copy the SPM Schema file (schema.SPM.xme) included with the SPM install from the SPM database folder:
C:\Program Files\EarthSoft\SPM\db\schema.SPM.xme
to the EQuIS database folder:
C:\Program Files\EarthSoft\EQuIS\db

Login to an EQuIS Database from EQuIS Professional
Launch EQuIS Professional and login to a facility in the target database. The login steps are detailed in the Connect EQuIS Professional to a Database article.
Note: The EQuIS Login window is the same for EQuIS Professional and SPM. |
Update the Database with the SPM Schema
Follow the steps in Update EQuIS Database article to apply the SPM Schema.
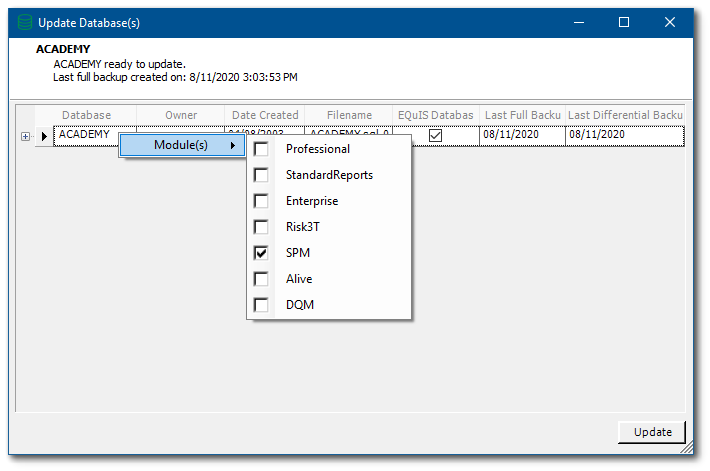
Right-click anywhere in the Update Database(s) form and hover the mouse over Module(s). This will display all of the Schema update files that are present in the database directory.
The Update function will only process those Schema files with check marks in the corresponding check box; uncheck any Schemas that are not desired in the current update process. Confirm that the SPM is present and checked.

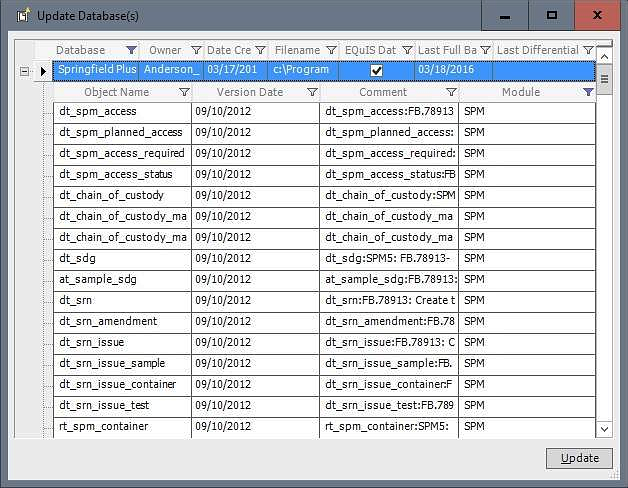
Expand the node next to the database record to review the changes that will be made by adding the SPM Schema.

Click the Update button.
Note: To use SPM with more than one database, each database must be updated to the SPM Schema. More than one database can be selected for a batch update. |
A message will appear confirming the update success. Contact EarthSoft support, support@earthsoft.com if the update fails.