To change the properties of the Map widget, open the Widget Editor by selecting the More Options ![]() icon in the upper right corner of the widget to display the drop-down menu and then select the Edit menu option. The Map widget properties are divided into six tabs in the Widget Editor. Changes made on any tab will not be preserved until the user clicks Save on the Widget Editor header.
icon in the upper right corner of the widget to display the drop-down menu and then select the Edit menu option. The Map widget properties are divided into six tabs in the Widget Editor. Changes made on any tab will not be preserved until the user clicks Save on the Widget Editor header.
The Symbology tab is enabled when the Show Facility Layer box is checked on the General tab. This tab sets the symbology for facility locations.
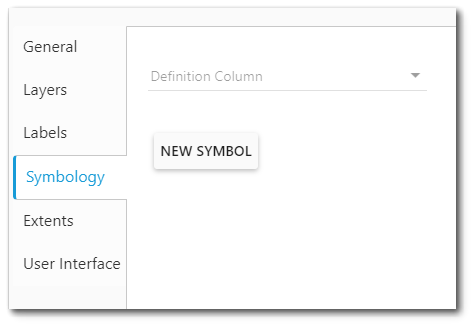
To create a symbol, set the Definition Column and click the New Symbol button. Select the drop-down menu to set the Definition Column. For example, selecting "type" will establish the symbology for the LOCATION_TYPE column.
Note: "CUSTOM" is not applicable as an option for the Definition Column. |
|---|
Multiple symbols can be defined. Refer to Show Subset of Locations within the Map Widget for an illustration on how to use symbology to display a subset of locations for the selected facility.
|
|
|---|
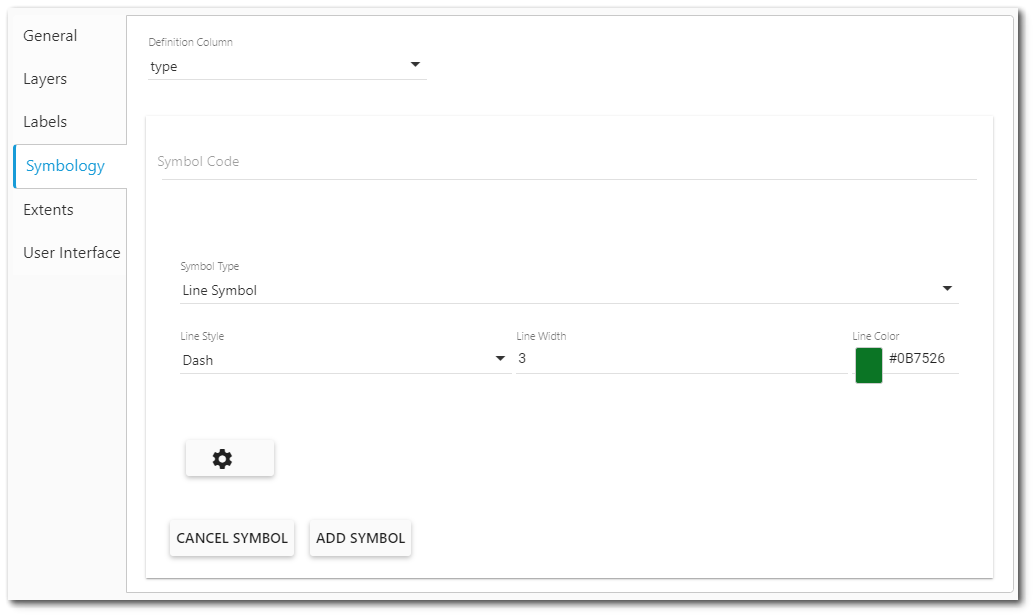
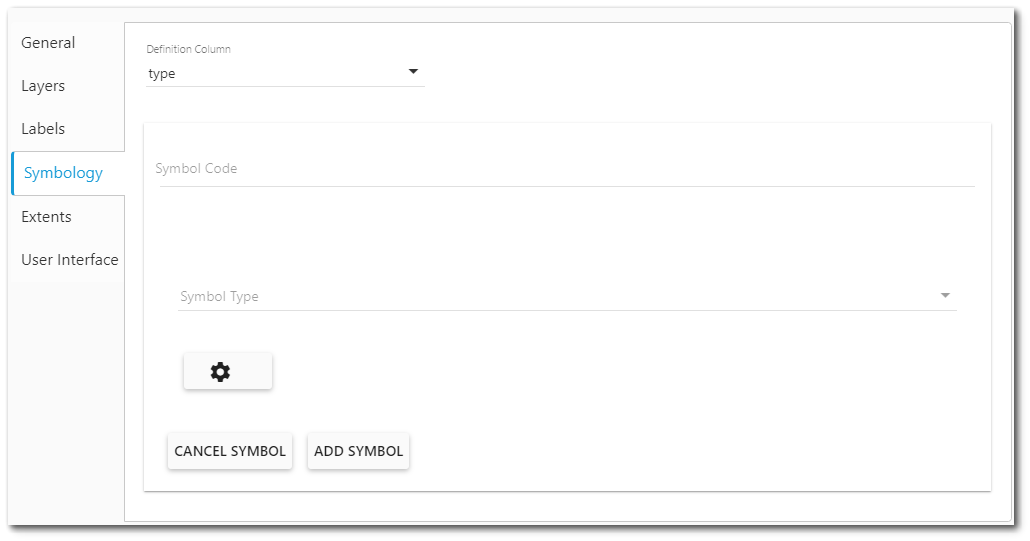
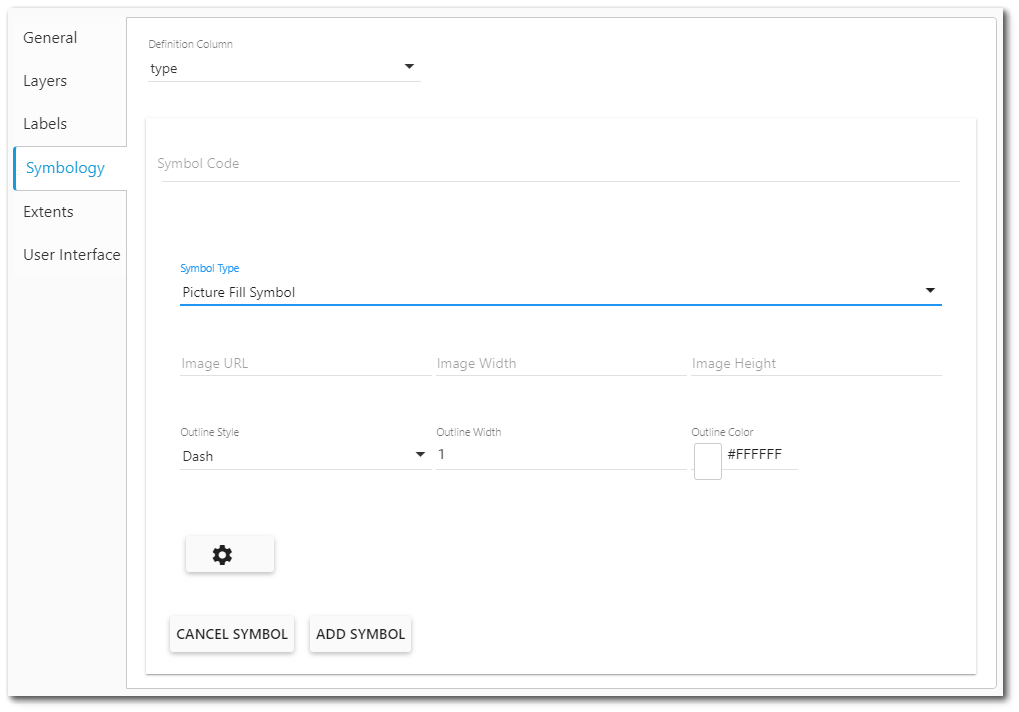
Define the Symbol Code, select the Symbol Type, and then set the symbol properties as appropriate.
Symbol Code – This field is case sensitive and needs to populate accordingly. For example, if the Definition Column is "type" and DT_LOCATION.LOC_TYPE = MONITORING WELL, then the Symbol Code must be MONITORING WELL not Monitoring Well.
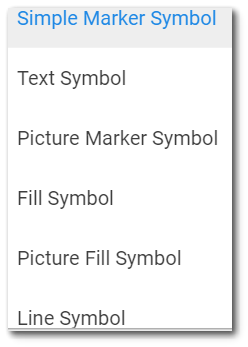
Symbol Type – Select the drop-down menu to view the Symbol Type. Select from Simple Marker Symbol, Text Symbol, Picture Marker Symbol, Fill Symbol, Picture Fill Symbol or Line Symbol.
After all symbol properties are set, click the Add Symbol button. Repeat these steps as needed to add as many symbols as desired.
Symbol Properties
The various symbol properties change in response to the symbol type selected.
Simple Marker Symbol
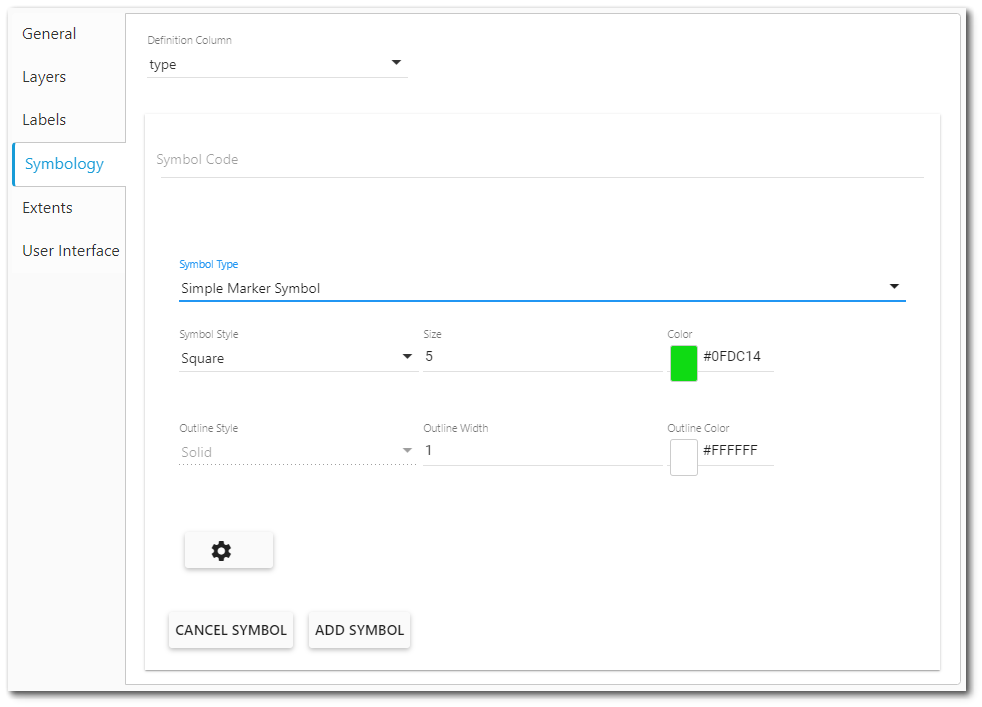
Style – Set the style of the simple marker. Select from circle, square, diamond, cross, and X.
Text Symbol
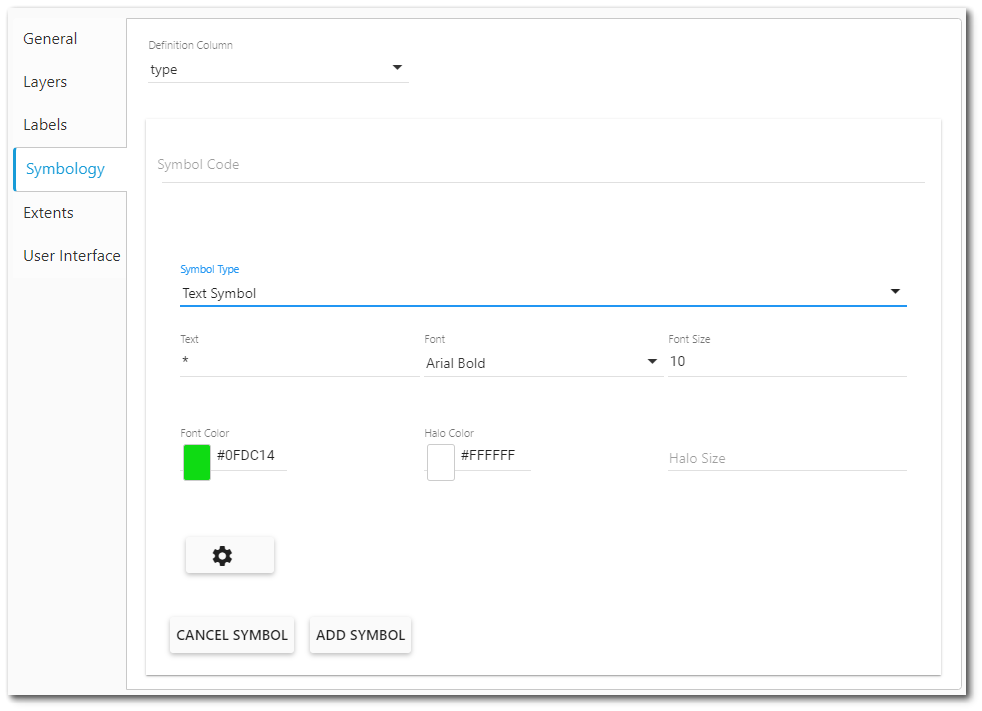
Text – Enter text or single character for the symbol.
Font – Select the desired font type and weight (e.g., regular, bold, italics) from drop-down menu. When "Esri Icon Font" is selected, enter Unicode text (e.g., "\ue61d") in the Text field. The Unicode text is converted to a symbol that is displayed on the map. Read more about using Esri Icon Font unicode text.
Picture Marker Symbol
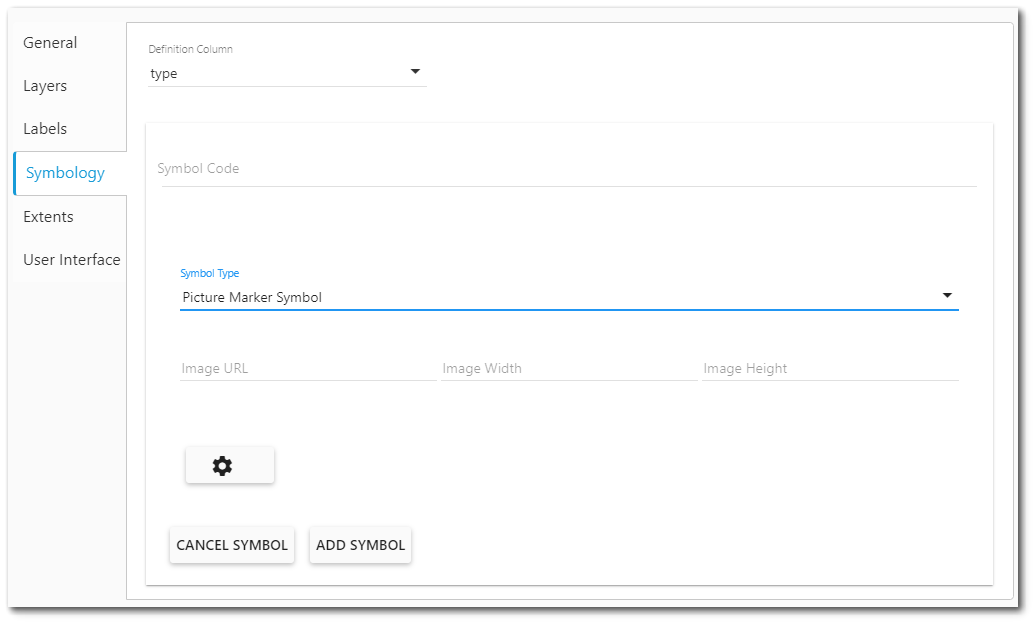
Image URL – Enter URL to image (this can be relative to application root).
Width – Enter width of image.
Height – Enter height of image.
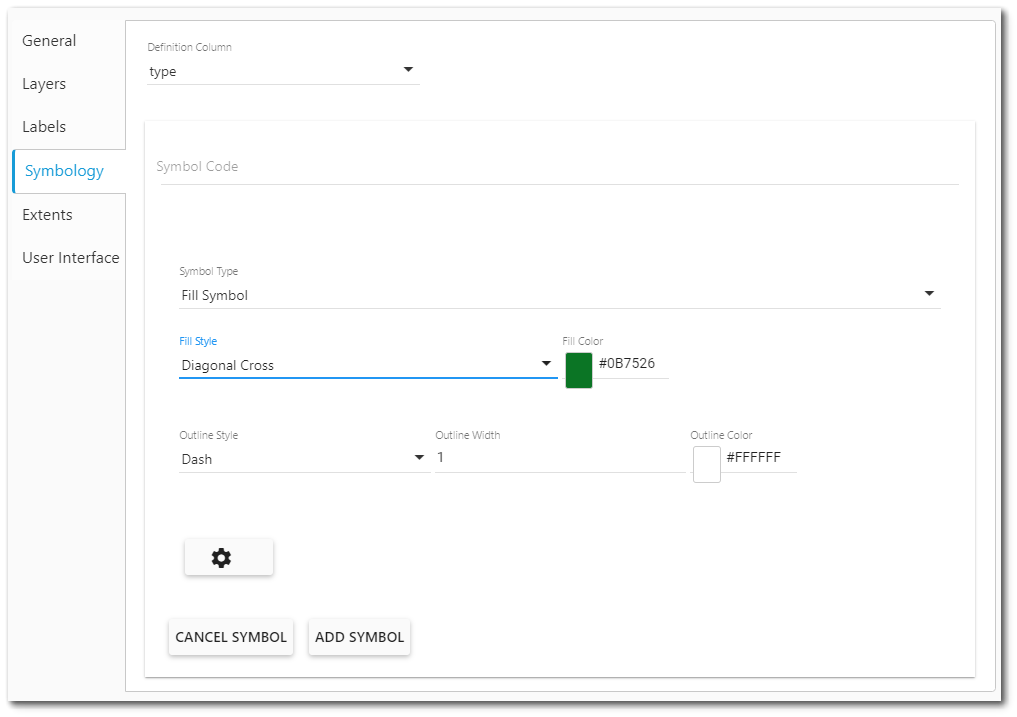
Fill Symbol
Picture Fill Symbol
Line Symbol
